Thermadata Studio – Walk Through Set Up Guide
This blog has been designed as your one stop shop for setting up your new ThermaData WiFi instrument and ThermaData Studio software. You’ll find below a handy guide walking you through step-by-step how to download the ThermaData Studio software and connect your unit to the software, as well as how to start setting up the instrument. Next week you’ll find another blog discussing the latest feature ‘Auto-Archive’ and then last but not least part 3 discussing the different methods of viewing your transmitted data.
So first things first you’re going to want to install the software onto your PC. You can do this by visiting the link below. Once downloaded open the software.
https://thermometer.co.uk/content/170-software-apps
Next you’ll need to connect your ThermaData WiFi unit to the internet, you can do this one of two ways. The first is connecting it directly to a PC or Laptop via USB or you can also hotspot from your phone or tablet.
To connect via the internet simply plug in your ThermaData WiFi unit to your PC using the USB cable provided. Open ThermaData Studio and select ‘ThermaData®’ tab in the top bar, from there we can locate the ‘Connect Instrument to WiFi’ button.

Once you have clicked on that you can select the appropriate WiFi network from the drop down menu and enter the necessary details. You’ll see a bar load across the screen while it is searching for the available networks. If the network you are looking for does not appear, you can also manually type in the Network Name, select WPA2 as the Encryption, and then enter the Network Password. Now that it has found the correct network the device has connected and is displaying a WiFi signal indicator and a cloud in the top left hand corner of the LCD.

Alternatively we can also connect the device by using a hotspot from a tablet or phone. First we need to hold down the ‘Start’ and ‘Max/Min’ buttons until the logger LCD displays ‘SEt UP’. From here we need to locate the Wi-Fi settings on the mobile phone/tablet and scan for available networks. You will see an item that corresponds with your device (it will have a number in the name which matches the serial number printed on the rear label of your device. For example: ThermaData WiFi D17061188). Now that we are connected to the ThermaData WiFi, we can use the mobile/tablet’s browser and either enter http://my.thermadatawifi or http://192.168.1.1
*An important note at this stage is that this page will only load correctly, if the logger still says ‘Set up’ & the mobile/tablet is connected to the ThermaData WiFi’s ‘hotspot’.
Now that this page has loaded it has directed us to a ThermaData WiFi Configuration page, here are the steps we need to take:
1. Select the appropriate WiFi network that we wish to connect to e.g. Production.
2. Enter password for the network.
3. Once all the information is entered click ‘Save Configuration’
4. The device is now connected to the WiFi network
As with the previous method the device will then display a WiFi signal indicator and a cloud in the top left hand corner of the LCD screen.

So next we’re going to pair the unit with the ThermaData Studio software. To do this we need to select the ‘’ within the active instruments window and then type in the unit serial number from the reverse of our unit. Next to this you have the option to allow the user Read Only Access or Full Access.

If you choose to select ‘Read Only’ then the user will have limited access to the device and can only view information – not adjust it. This is especially handy when pairing one logger with multiple computers, you can choose to have one computer with Full Access and the others Read Only Access. For this you need to select ‘Read-Only’ and enter the 8 Digit Connection Key on the rear of the unit.
If however you choose to select ‘Full-Access’, then the user will have unlimited access to the device and can adjust the settings. For this simply select ‘Full-Access’. You can now see that you will be prompted to press the ‘Start’ button on the instruments front panel 5 consecutive times. This will give us a unique pairing code that needs to be entered into the text bar on the window.

Now that’s successfully completed the ThermaData WiFi has appeared within the list of Active Instruments. At this stage we can now perform multiple actions including, Rename the instrument, Change Settings, Remove it from ThermaData Studio, Remove all other users, Set up Auto Archive and Download data from this instrument. These are all found by right clicking on the instrument within the Active Instruments list.

Next we need to enter the Instrument Settings. To do this we simply need to locate the Instrument Setting tab in the top bar on your ThermaData Studio software. Once clicked on, choose the dropdown and locate your chosen instrument.

Alternatively we can right click on our ThermaData Wfi and select “Change Settings for this instrument” as mentioned earlier.
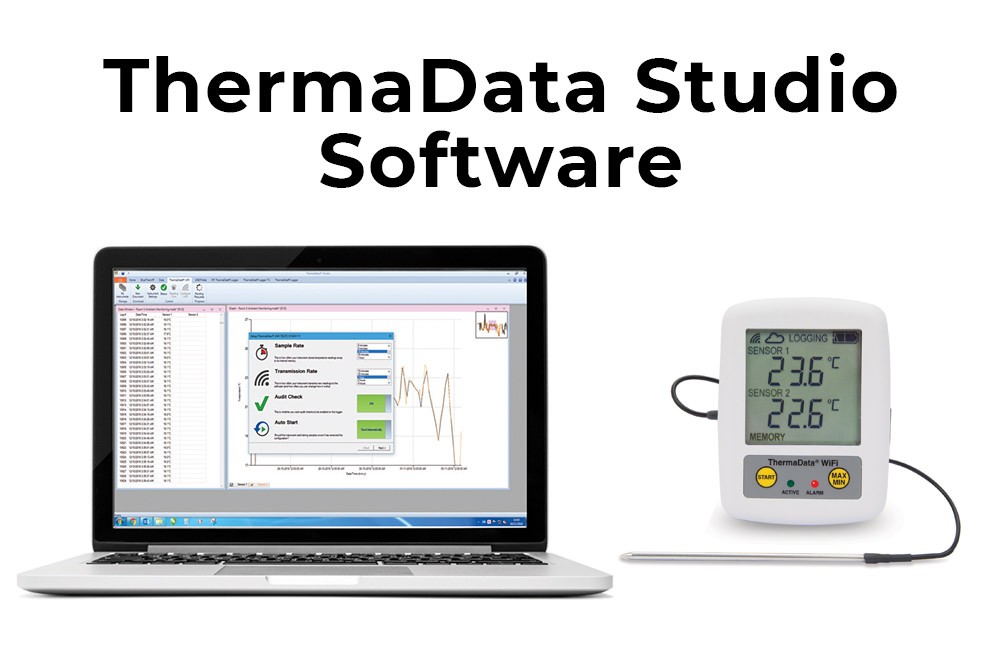
From here we can edit the settings of the device such as; Sample rate, Transmission rate, Audit check, Auto start, Enable or disable both Sensor 1 and/or Sensor 2, Name each sensor and programme allowable limits. These settings stop you having to manually do many of these instructions which is a great timesaving aspect of the software, especially for your HACCP compliance. Below I’ve explained what each of these settings does and the benefit to them.

Sample Rate: This is the rate at which the unit will take a sample of data from the item you are measuring and store the temperature reading in its internal memory. You can set this to intervals of 6 seconds, right up to 5hours and 30 minutes.
Transmission Rate: The transmission rate is how frequently the device will send the data that has been recorded in its internal memory back to the ThermaData Studio software on your PC.
Audit Check: This NEW function allows you to do an urgent ‘data dump’ when you press the Start button. The device will immediately transmit all the current saved data from the device to the software. This is really handy if you have an Audit Check and the Auditor requests to see today’s data, you don’t have to wait until the next scheduled transmission. The software will also clearly mark the transmission as an Audit for you.
Auto Start: This function allows you to tell the instrument whether you start taking data samples as soon as you have finished configuring the settings. If you want it to wait then you can simply click on the button and it will tell you to press the ‘Start’ button on the unit to commence data logging.
![]()
Programme Allowable Limits: This function allows you to set limits at or outside which an alarm occurs. It will give you the option for both a high and low alarm.
Top Tip: Whenever new settings are programmed into a WiFi instrument, any previous settings or saved readings will be erased, so be sure if you’re already using the device to transmit any current data you have to the software before changing the instrument settings.
UP NEXT: How to use the NEW Auto Archive feature to automatically archive the data which has been transmitted from the unit. Auto Archiving is a fantastic time saving feature which is perfect for HACCP compliance and audit checks. Check back for the blog next week.